
前端面试系列主要是针对前端各个技术面试时常见的面试问题和知识点的整理。属于面试向的博文,所以较为零碎和不全面,请悉知
首先我们可以看一下 CSS 面试题的知识模块
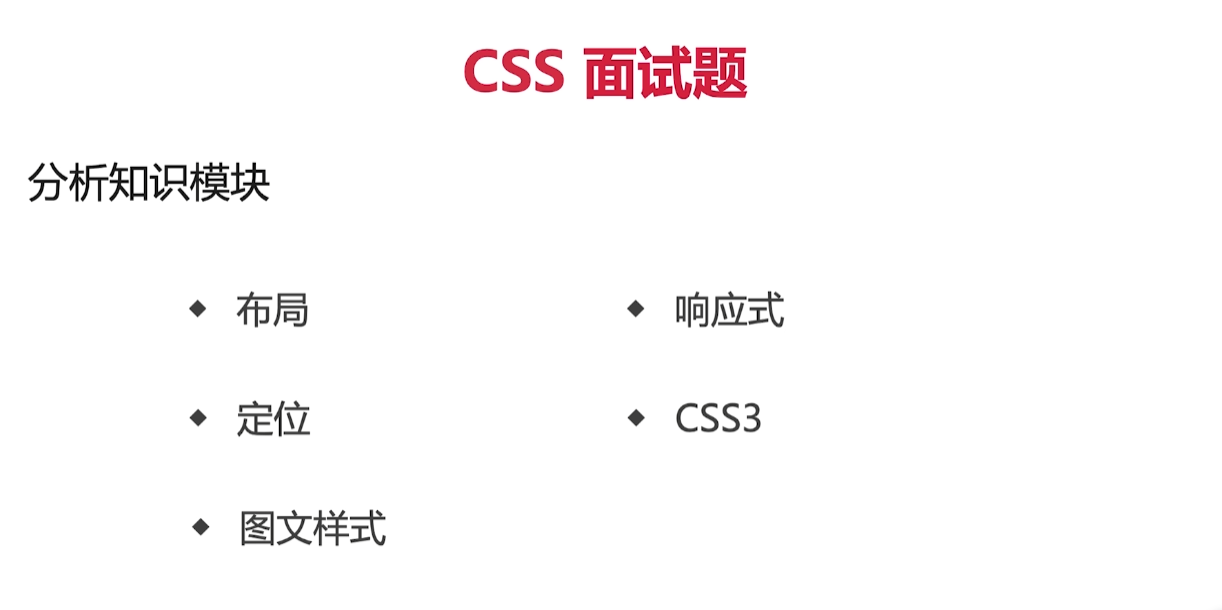
CSS 知识点梳理
第一部分:布局
盒模型宽度计算
先看例题
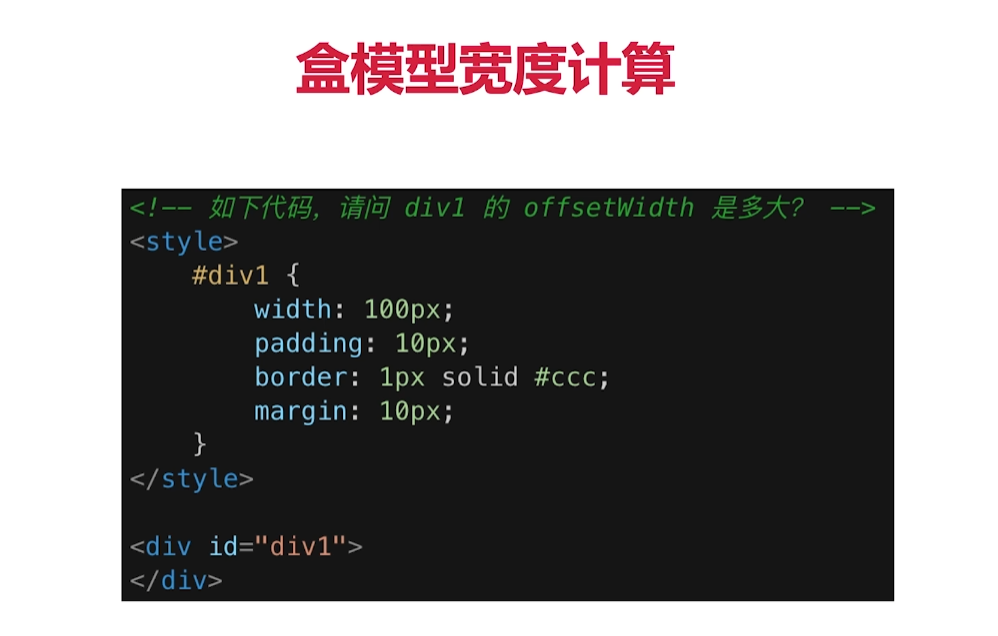
首先,什么是 offsetWidth? offsetWidth = (内容宽度 + 内边距 + 边框) 无外边距。因此上面的答案是 122 px
那么如果让 offsetWidth 等于 100px,该如何去做呢?上面的 width 默认设定的是内容宽度。我们可以使用 box-sizing 属性去改变这个默认设定
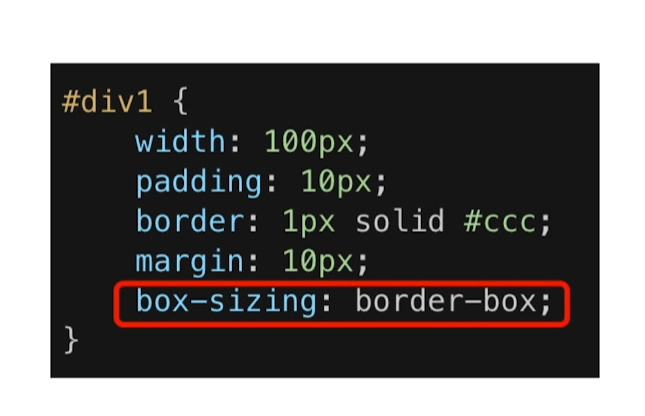
我们把 box-sizing 的值设为 border-box,让 width 设定的宽度为 到边框外边界的 宽度,这样这里的内容宽度就会自动去计算。offsetWidth 的宽度相当于 width 设定的宽度
margin 纵向重叠问题
首先来开例题
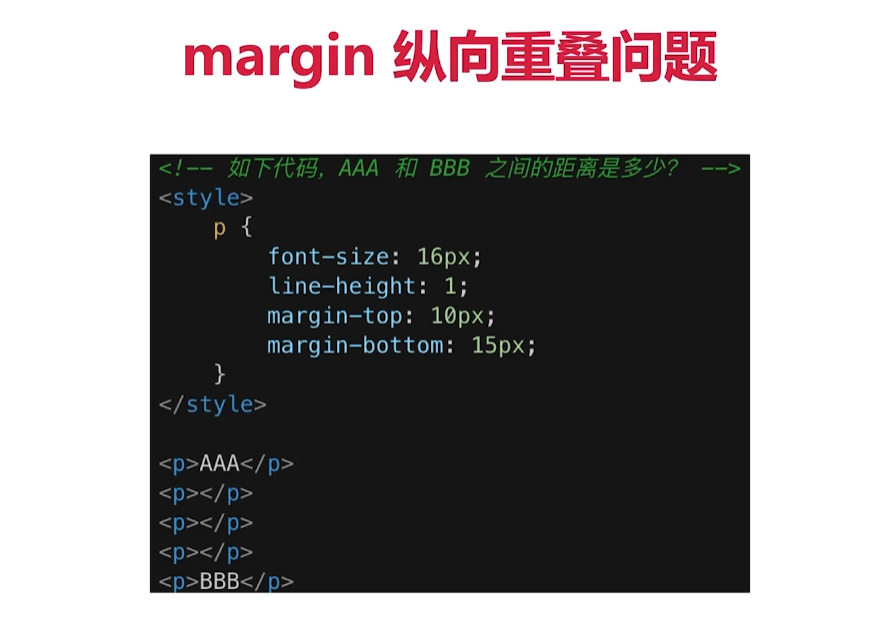
我们知道,相邻块级元素的 margin-top 和 margin-bottom 为发生重叠。空白内容的 p 元素也会重叠,这里进行了多层重叠,所以看上去这三个 p 元素被忽略了一样。这里要补充一下重叠的简单过程的通俗理解,两个外边距进行重叠,谁先触碰到对方外边距内边界谁就胜出,那么两个元素的距离就由谁说了算。所以答案是 15px
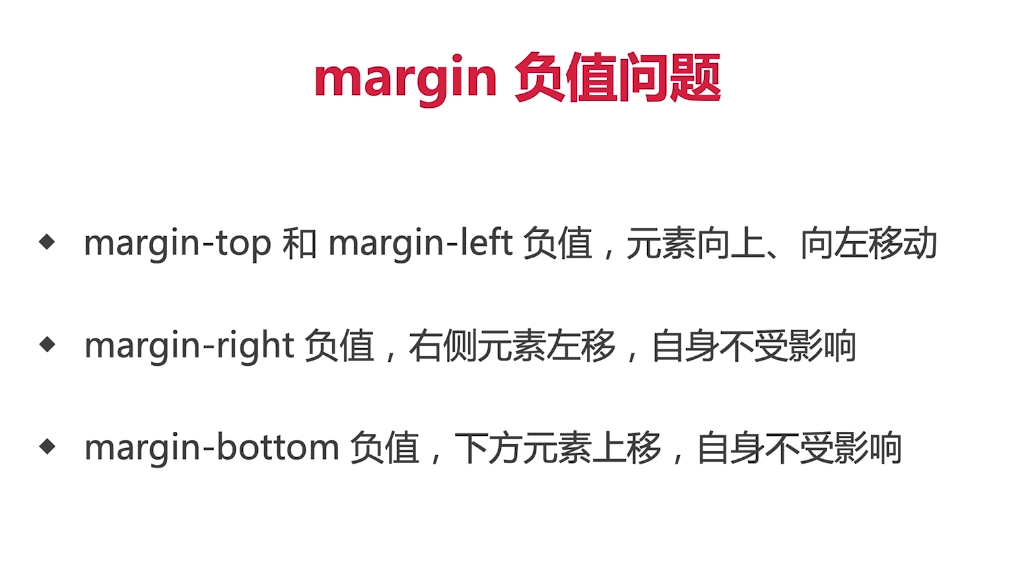
margin 负值问题
BFC 理解与应用
-
BFC 理解
Block format context 块级格式化上下文
一块独立的渲染区域,内部元素的渲染不会影响边界以外的元素
-
形成 BFC 的常见条件
float 不是 none
position 是 absolute 或 fixed
overflow 不是 visible
display 是 flex inline-block 等
-
BFC 常见应用
BFC 清除浮动
<style>
    .BFC{
        width: 100%;
        background: #beace9;
        overflow: hidden;   /* 触发元素 BFC */
    }

    .inner{
        width: 100px;
        height: 100px;
        background: #e6e6a3;
        float: left;
    }
</style>
<div class="BFC">
    这是 BFC 示例
    <div class="inner">我是浮动元素</div>
</div>
看图例,这是没有触发 BFC 的时候

浮动元素脱离文档流造成父元素高度塌陷,致使影响到外部元素。下面是使用 overflow: hidden 触发 BFC 的图例

触发 BFC 后,父元素高度会被撑开,高度包含浮动元素的高度。因为根据 BFC 的基本布局规则,BFC 内部的子元素不会影响到外部元素,且 float 元素的高度算在 BFC 的高度内
float 布局
float 布局两个重要的知识点
-
如何实现圣杯布局和双飞翼布局
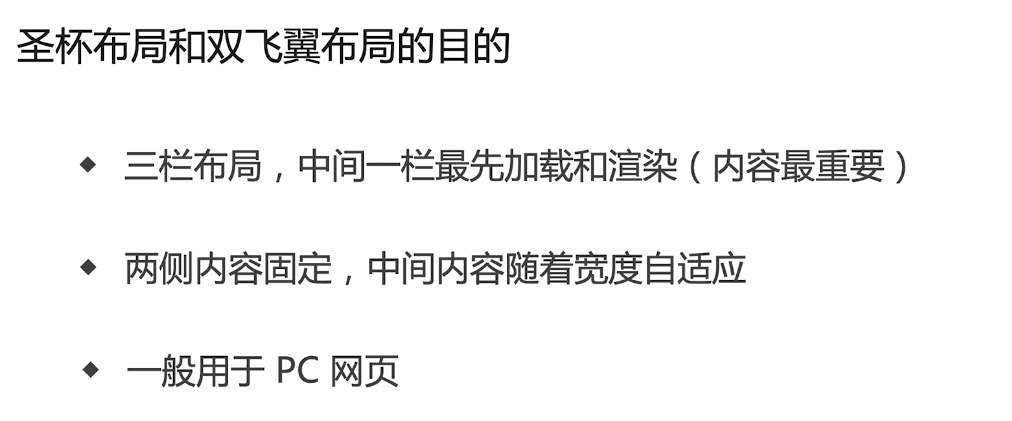
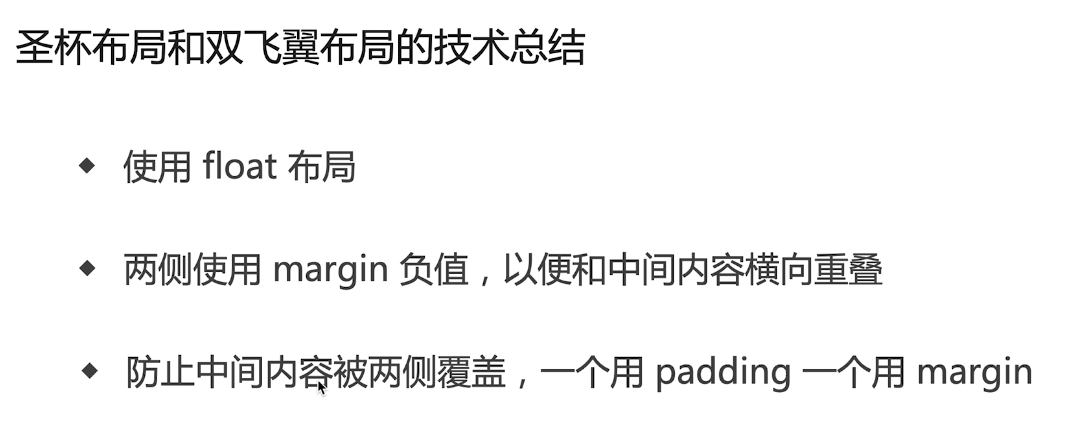
圣杯布局代码实现:
<style>
    body {
        min-width: 550px;
    }

    #header {
        text-align: center;
        background-color: #f1f1f1;
    }

    .column {
        float: left;
    }

    #container {
        padding: 0 150px 0 200px;
    }

    #center {
        background-color: #ccc;
        width: 100%;
    }

    #left {
        position: relative;
        background-color: yellow;
        width: 200px;
        margin-left: -100%;
        right: 200px;
    }

    #right {
        background-color: red;
        width: 150px;
        margin-right: -150px;
    }

    #footer {
        text-align: center;
        background-color: #f1f1f1;
    }

    /* 手写 clearfix */
    .clearfix::after {
        content: '';
        display: table;
        clear: both;
    }
</style>
<body>
    <div id="header">this is header</div>
    <div id="container" class="clearfix">
        <div id="center" class="column">this is center</div>
        <div id="left" class="column">this is left</div>
        <div id="right" class="column">this is right</div>
    </div>
    <div id="footer">this is footer</div>
</body>
⭐ 实现过程:
- html 部分主要是一个容器元素内有三个实现浮动的元素。两边要设置固定宽度,中间宽度为 100%
- 容器元素设置其 padding 值,padding 值为两侧浮动元素的宽度
- 左侧浮动元素设置其 margin-left 值,值为 -100%,也就是说向左偏移相当于容纳块的宽度。此时还没有到达它的真正位置。所以要使用
position: relative相对于自身右侧偏移,偏移量为自身宽度 - 右侧浮动元素设置其 margin-right 值,值为负的自身宽度,也就是从右侧向内收缩自身宽度的量,导致其宽度从布局上被忽略,故而向上浮动到中间浮动元素的右侧
最终效果

双飞翼布局代码实现:
<style>
    body {
        min-width: 550px;
    }

    .col {
        float: left;
    }

    #main {
        background-color: #ccc;
        width: 100%;
        height: 200px;
    }

    #main > #main-wrap {
        margin: 0 190px;
    }

    #left {
        background-color: #0000FF;
        width: 190px;
        height: 200px;
        margin-left: -100%;
    }

    #right {
        background-color: #FF0000;
        width: 190px;
        height: 200px;
        margin-left: -190px;
    }
</style>
<body>
    <div id="main" class="col">
        <div id="main-wrap">
            this is main
        </div>
    </div>
    <div id="left" class="col">
        this is left
    </div>
    <div id="right" class="col">
        this is right
    </div>
</body>
⭐ 实现过程:
- html 部分主要是实现浮动的三个元素(亦可包含在一个容器元素中),不过中间浮动元素的内容部分另外包装在一个元素中
- 给中间浮动元素中包装内容的元素设置左右 margin,值为两侧浮动元素的宽度
- 左侧浮动元素设置 margin-left,值为 -100%。这里就不用设置
position: relative了 - 右侧浮动元素设置 margin-left(注意,不是 margin-right,因为容器元素并未 padding 或 margin,很可能导致右侧浮动元素超出页面部分),值为负的自身宽度
最终效果:

手写 clearfix
代码演示:
/* 手写 clearfix */
.clearfix::after {
    content: '';
    display: table;
    clear: both;
}
为什么要使用 clearfix,我想这篇文章写的很好:https://www.jianshu.com/p/9d6a6fc3e398
总而言之,相比使用 clear: both 来清除浮动,使用 clearfix 这种清除浮动的方法,可以同时撑开浮动元素容器的高度。添加伪元素 ::after 其实是在元素后面添加了一个元素,在这个伪元素上使用了 clear: both 使其清除两边浮动元素,故而使也能使容器高度撑开
flex 布局
-
常用语法回顾
- flex-direction:主轴方向
- justify-content:弹性元素行中主轴对齐方式
- align-items:弹性元素行中垂轴对齐方式
- flex-wrap:是否允许换行
- align-self:弹性元素自身垂轴对齐方式
-
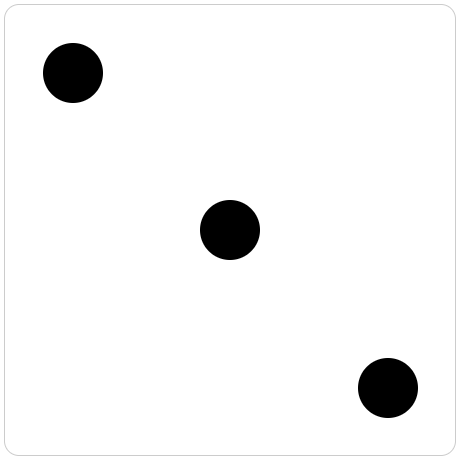
用 flex 画一个三点色子
代码演示
<style>
    /* flex 画三个点的色子 */
    .box {
        display: flex;  /* flex 布局 */
        justify-content: space-between; /* 两端对齐 */
        width: 500px;
        height: 500px;
        padding: 50px;
        border: 1px solid #ccc;
        border-radius: 20px;
    }

    /* 点的背景色、大小、边框等 */
    .dot {
        width: 80px;
        height: 80px;
        border-radius: 50%;
        background-color: #000;
    }

    /* 第二项居中对齐 */
    .dot:nth-child(2) {
        align-self: center;
    }

    /* 第三项尾对齐 */
    .dot:nth-child(3) {
        align-self: flex-end;
    }
</style>
<body>
    <div class="box">
        <div class="dot"></div>
        <div class="dot"></div>
        <div class="dot"></div>
    </div>
</body>
最终效果:
第二部分:定位
absolute 和 relative 分别依据什么定位
-
relative 依据自身定位
-
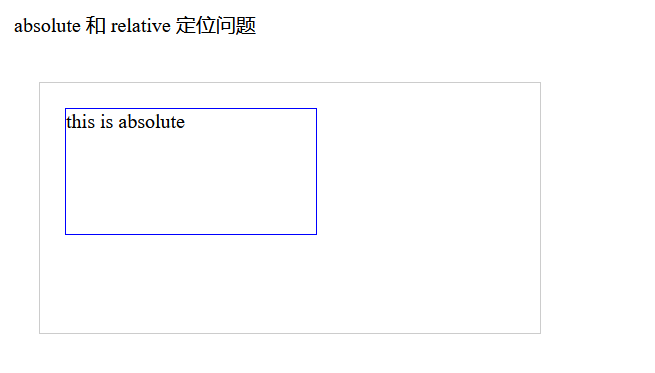
absolute 依据最近一层的定位元素定位。如果没有,那就相对于初始容纳块 body
定位元素:absolute、relative、fixed
<style>
    body{
        margin: 20px;
    }

    .relative{
        position: relative;
        width: 400px;
        height: 200px;
        border: 1px solid #ccc;

        top: 20px;
        left: 20px;
    }

    .absolute{
        position: absolute;
        width: 200px;
        height: 100px;
        border: 1px solid blue;

        top: 20px;
        left: 20px;
    }
</style>
<body>
    <p>absolute 和 relative 定位问题</p>
    <div class="relative">
        <div class="absolute">
            this is absolute
        </div>
    </div>
</body>
此时 position: absolute 的元素相对于 position: relative 的元素进行定位。position: relative 的元素相对于自身进行定位。如若把 position: relative 这个属性删除,则内部 position: absolute 的元素相对于 body 元素进行定位
居中对齐有哪些实现方式
-
水平居中
-
inline 元素:
text-align: center<style> .container{ border: 1px solid #ccc; margin: 10px; padding: 10px; } .item{ background-color: #ccc; } .container-1{ text-align: center; /* 设置行内元素水平居中 */ } </style> <body> <div class="container container-1"> <span>一段文字</span> </div> </body>
-
block 元素:
margin: auto<style> .container{ border: 1px solid #ccc; margin: 10px; padding: 10px; } .item{ background-color: #ccc; } .container-2 .item{ width: 500px; margin: auto; /* 设置块级元素水平居中 */ } </style> <body> <div class="container container-1"> <div class="item"> this is block item </div> </div> </body>margin-left 和 margin-right 设为 auto。左右两边外边距自动填充,前提时居中元素设置了宽度。

-
absolute:
left: 50%+margin-left 负值<style> .container{ border: 1px solid #ccc; margin: 10px; padding: 10px; } .item{ background-color: #ccc; } .container-3{ position: relative; height: 100px; } .container-3 .item { width: 300px; height: 100px; position: absolute; left: 50%; margin-left: -150px; } </style> <body> <div class="container container-1"> <div class="item"> this is block item </div> </div> </body>设定绝对定位的元素向左偏移 50%,其实是元素左上角相对于容纳块偏移 50%(也就是此时元素左上角在容纳块居中位置),并未在容纳块居中位置。所以要设置
margin-left再向左偏移自身一半的距离,前提是知道子元素的宽度
-
-
垂直居中
-
inline 元素:line-height 的值等于 height 值
<style>
    .container {
        border: 1px solid #ccc;
        margin: 10px;
        padding: 10px;
        height: 200px;
    }

    .item {
        background-color: #ccc;
    }

    .container-1 {
        text-align: center;
        line-height: 200px;	/* 让字距 加 上下两侧行高等于 height 值 */
    }
</style>
<body>
    <div class="container container-1">
        <span>一段文字</span>
    </div>
</body>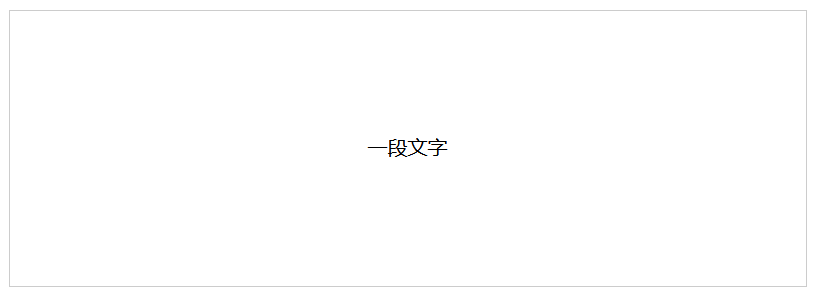
-
absolute 元素:
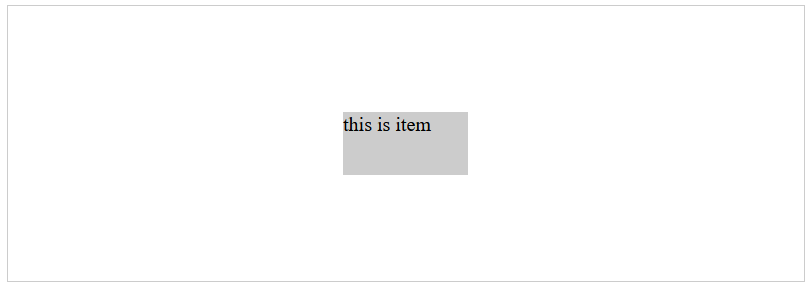
top: 50%+margin-top 负值(需要知道子元素的尺寸,因为需要直到子元素一半的高度或宽度)<style> .container { border: 1px solid #ccc; margin: 10px; padding: 10px; height: 200px; } .item { background-color: #ccc; } .container-2 { position: relative; } .container-2 .item { width: 300px; /* 必须知道 item 的尺寸 */ height: 100px; position: absolute; left: 50%; /* 水平居中 */ margin-left: -150px; top: 50%; /* 垂直居中 */ margin-top: -50px; } </style> <body> <div class="container container-2"> <div class="item"> this is item </div> </div> </body>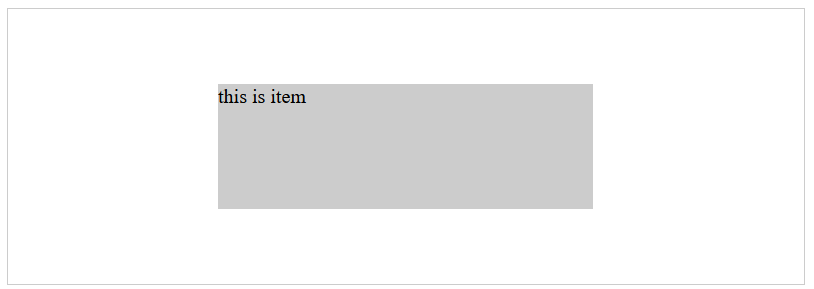
-
absolute 元素:
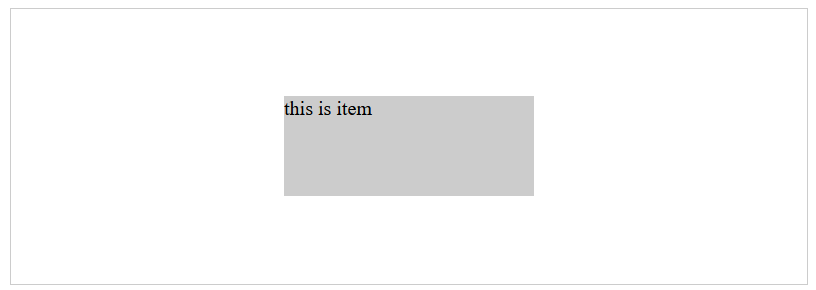
translate(-50%,-50%)<style> .container { border: 1px solid #ccc; margin: 10px; padding: 10px; height: 200px; } .item { background-color: #ccc; } .container-3 { position: relative; } .container-3 .item { width: 200px; height: 80px; position: absolute; top: 50%; left: 50%; transform: translate(-50%,-50%); } </style> <body> <div class="container container-3"> <div class="item"> this is item </div> </div> </body>这种方法原理与设置 margin-left 和 margin-top 负值相同,但是重要的区别是,不必知道子元素自身的高度和宽度。因为 translate 相对于子元素自身范围框进行移动,且移动原点就在自身范围框中心
-
absolute 元素:
top left bottom right = 0+margin: auto<style> .container { border: 1px solid #ccc; margin: 10px; padding: 10px; height: 200px; } .item { background-color: #ccc; } .container-4 { position: relative; } .container-4 .item { width: 100px; height: 50px; position: absolute; top: 0; left: 0; bottom: 0; right: 0; margin: auto; } </style> <body> <div class="container container-4"> <div class="item"> this is item </div> </div> </body>这种方法利用了盒模型的概念基础,使用绝对定位的元素,其横向尺寸(即 left 、right 加上盒模型各属性)的值要等于容纳块的尺寸,纵向尺寸同理。这边几个定位属性都设为 0,margin 的值自动计算,左右外边距相等,上下外边距相等,最后就能达到垂直居中效果
-
####第三部分:图文样式
-
line-height 如何继承
<style>
    /* p 标签的行高将会是 40 px */
    body{
        font-size: 20px;
        line-height: 200%;
    }

    p{
        font-size: 16px;
    }
</style>
<body>
    <p>
        AAA
    </p>
</body>
为何是 40px。我们来分析以下:
- 写具体数值,如 30px,则继承该值(比较好理解)
- 写比例,如 2 / 1.5,则继承该比例(比较好理解)
- 写百分比,如 200%,则继承计算出来的值
第四部分:响应式
- rem 是什么
- px,绝对长度单位,最常用。但是不灵活
- em,相对长度单位,相对于父元素(字号)。没有统一标准,不常用
- rem,相对长度单位,相对于根元素(字号),常用于响应式布局
- 响应式布局的常见方案
- media-query,根据不同的屏幕宽度设置根元素 font-size
- rem,基于根元素的相对单位
CSS 题目整理
第一题:CSS 伪类与伪元素的区别
-
伪类
利用伪类可以为文档中不一定真实存在的结构指定样式,或者为某些元素(甚至文档本身)的特定状态赋予幽灵类
由于状态的变化是⾮静态的,所以元素达到⼀个特定状态时,它可能得到⼀个伪类的样式;当状态改变时,它⼜会失去这个样式
由此可以看出,它的功能和class有些类似,但它是基于⽂档之外的抽象,所以叫 伪类
-
伪元素
顾名思义就是 DOM 树中没有定义的虚拟元素
核心就是需要创建通常不存在于文档中的元素
⽐如::before ::after 它选择的是元素指定内容,表示选择元素内容的之前内容或之后内容
伪元素控制的内容和元素是没有差别的,但是它本身只是基于元素的抽象,并不存在于⽂档中,所以称为伪元素。⽤于将特殊的效果添加到某些选择器
-
伪类与伪元素的区别
表示不同:伪类以 : 开头,伪元素以 :: 开头
定义不同:伪类即假的类,可以添加类达到效果;伪元素即假元素,需要通过添加元素才能达到效果
第二题:说一下盒模型,以及标准模型和 IE 模型
-
什么是盒模型
盒模型是 css 中一种非常基础的设计模式,web 页面中每一个元素都可以当作一个盒模型,每一个盒模型都是由 display、position、float、width、height、padding、border、margin 等属性组合构成。不同类型的盒模型在页面布局上及表现上都不同。css 中主要有 inline、inline-block、block、absolute position、float 等类型
-
W3C 标准模型和 IE 传统模型
标准模型: height / width(空间高度 / 宽度)= 内容高度 / 宽度 + 内边距 + 边框宽度 + 外边距 【height / width 为 内容高度 / 宽度】
IE 模型: height / width (空间高度 / 宽度) = 内容高度 / 宽度 + 外边距【height / width 包含了 内容高度 / 宽度、边框宽度、内边距】
-
CSS 如何设置标准模型和 IE 模型
利用 box-sizing 属性: content-box 为标准模型;border-box 为 IE 模型
第三题: BFC 是什么?触发 BFC 的条件是什么?有哪些应用场景?
-
概念
BFC(Box Formatting context):Box 是 CSS 布局的对象和基本单位。BFC 就是页面上的一个隔离的独立容器。容器里面的子元素不会影响到外面的元素。反之也如此
块级格式化上下文布局规则:
- 内部的 BOX 会在垂直方向一个接一个的放置
- 属于同一个 BFC 的两个相邻 Box 的 margin 会重叠;不同 BFC 就不会
- 是页面上一个隔离的独立容器,里面的元素不会影响到外面的元素;反之亦然
- BFC 的区域不会和 float box 重叠
- 计算 BFC 的高度,浮动元素也参与计算
-
触发条件
触发条件简要概括:
- 根元素
- float 属性不为 none
- position 为 absolute 或 fixed
- overflow 不为 visible
- display 为 inline-block、table-cell、table-caption、flex、inline-flex
-
应用场景
-
清除内部的浮动,触发父元素的 BFC 属性,会包含 float 元素
防止浮动导致父元素高度塌陷父级设置 overflow: hidden, 元素 float: left;
-
分属于不同的 BFC,可以阻止 Margin 重叠
避免 margin 重叠,两个块相邻就会导致外边距被折叠,给中间的设置 BFC 就会避免,方法就是套个父级设置 overflow: hidden
-
阻止元素被浮动元素覆盖,各自是独立的渲染区域
-
自适应两栏布局
-
第四题:说一下什么是重绘重排,哪些操作会造成重绘重排
-
什么是重绘重排
当我们改变了一个元素尺寸位置属性时,会重新进行样式计算、布局绘制以及后面的所有流程,这种行为称为 重排
当改变了某个元素的颜色属性是不会重新触发布局,但还是会触发样式计算和绘制这就是 重绘
我们可以发现重排和重绘都会占用主线程,还有 JS 也会运行在主线程,所以就会出现抢占执行时间的问题,如果你写了一个不断导致重排重绘的动画,浏览器则需要在每一帧都运行样式计算布局和绘制的操作
-
触发的一些因素
- 页面首次进入的渲染
- 浏览器 resize
- 元素位置和尺寸发生改变的时候
- 可见元素的增删
- 内容发生改变
- css 伪类激活
-
如何优化
CSS 中有个动画属性 transform,通过该属性实现的动画不会经过布局和绘制,而是直接运行在合成器线程和栅格线程,所以不会受到主线程中 js 执行的影响。更重要的是经过 transform 实现的动画由于不需要经过布局绘制样式计算等操作,所以节省了很多运算时间
第五题:使用 CSS 实现一个水波纹的效果
<style>
    .wave-content {
        position: relative;
        width: 400px;
        height: 400px;
        margin: 100px 0 0 100px;
    }

    .wave{
        width: 100%;
        height: 100%;
        position: absolute;
        opacity: 0;
        transform-origin: center center;
        border: 1px solid black;
        border-radius: 50%;
        animation-name: wave;
        animation-duration: 7s;
        animation-timing-function: linear;
        animation-iteration-count: infinite;
    }

    .wave1 {
        animation-delay: 0s;
    }

    .wave2 {
        animation-delay: 1.5s;
    }

    .wave3 {
        animation-delay: 3s;
    }

    .wave4 {
        animation-delay: 4.5s;
    }

    @keyframes wave {
        0% {
            opacity: 0;
            transform: scale(0.5);
        }
        30% {
            opacity: 0.7;
            transform: scale(0.65);
        }
        70% {
            opacity: 0.1;
            transform: scale(0.85);
        }
        100% {
            opacity: -0.2;
            transform: scale(1);
        }
    }
</style>
<body>
    <div class="wave-content ">
        <div class="wave wave1 "></div>
        <div class="wave wave2 "></div>
        <div class="wave wave3 "></div>
        <div class="wave wave4"></div>
    </div>
</body>
第六题:position 定位都有什么属性(不仅仅是绝对定位和相对定位/ fix 定位)
-
position 概念
position 属性把元素放置到一个静态的、相对的、绝对的、或固定的位置中
-
position 属性值
position 属性值共有四个常用的:static、relative、absolute、fixed。还有不常用的:inherit、initial、sticky